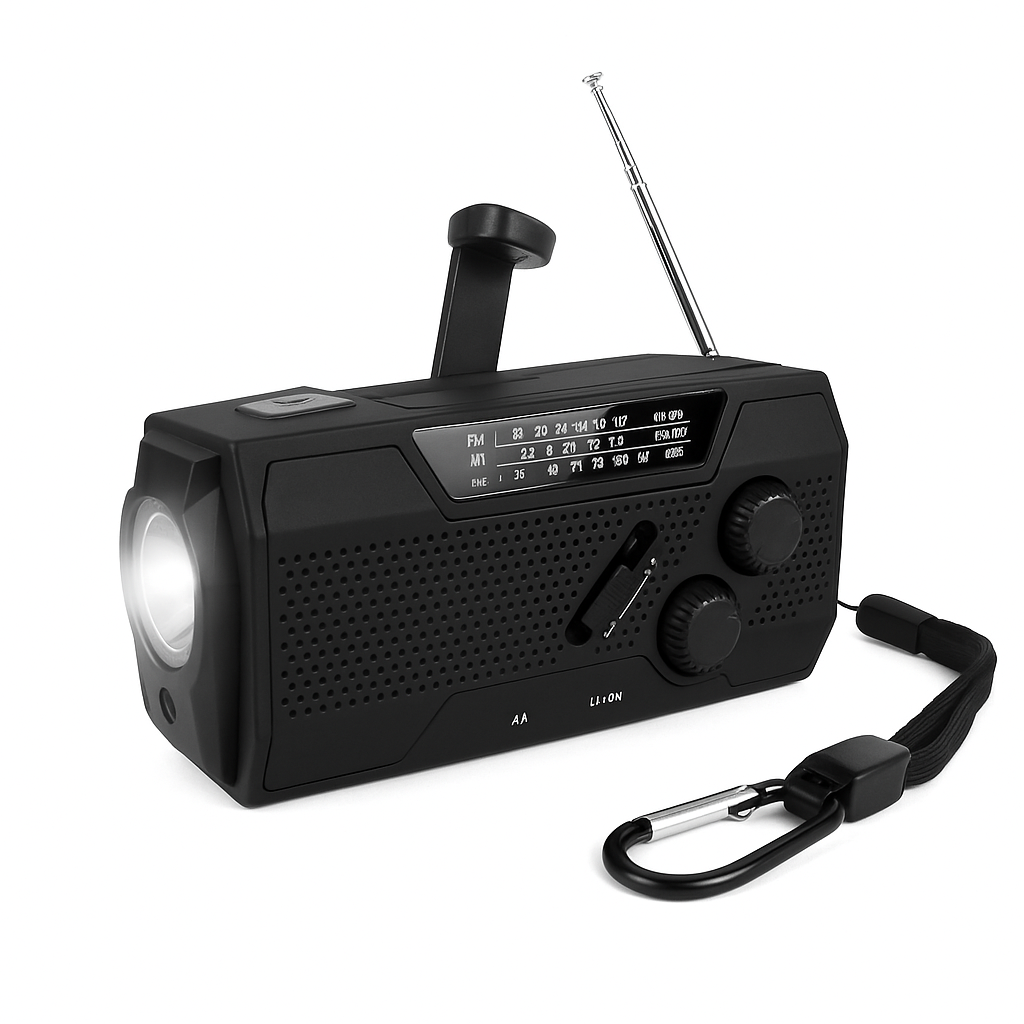
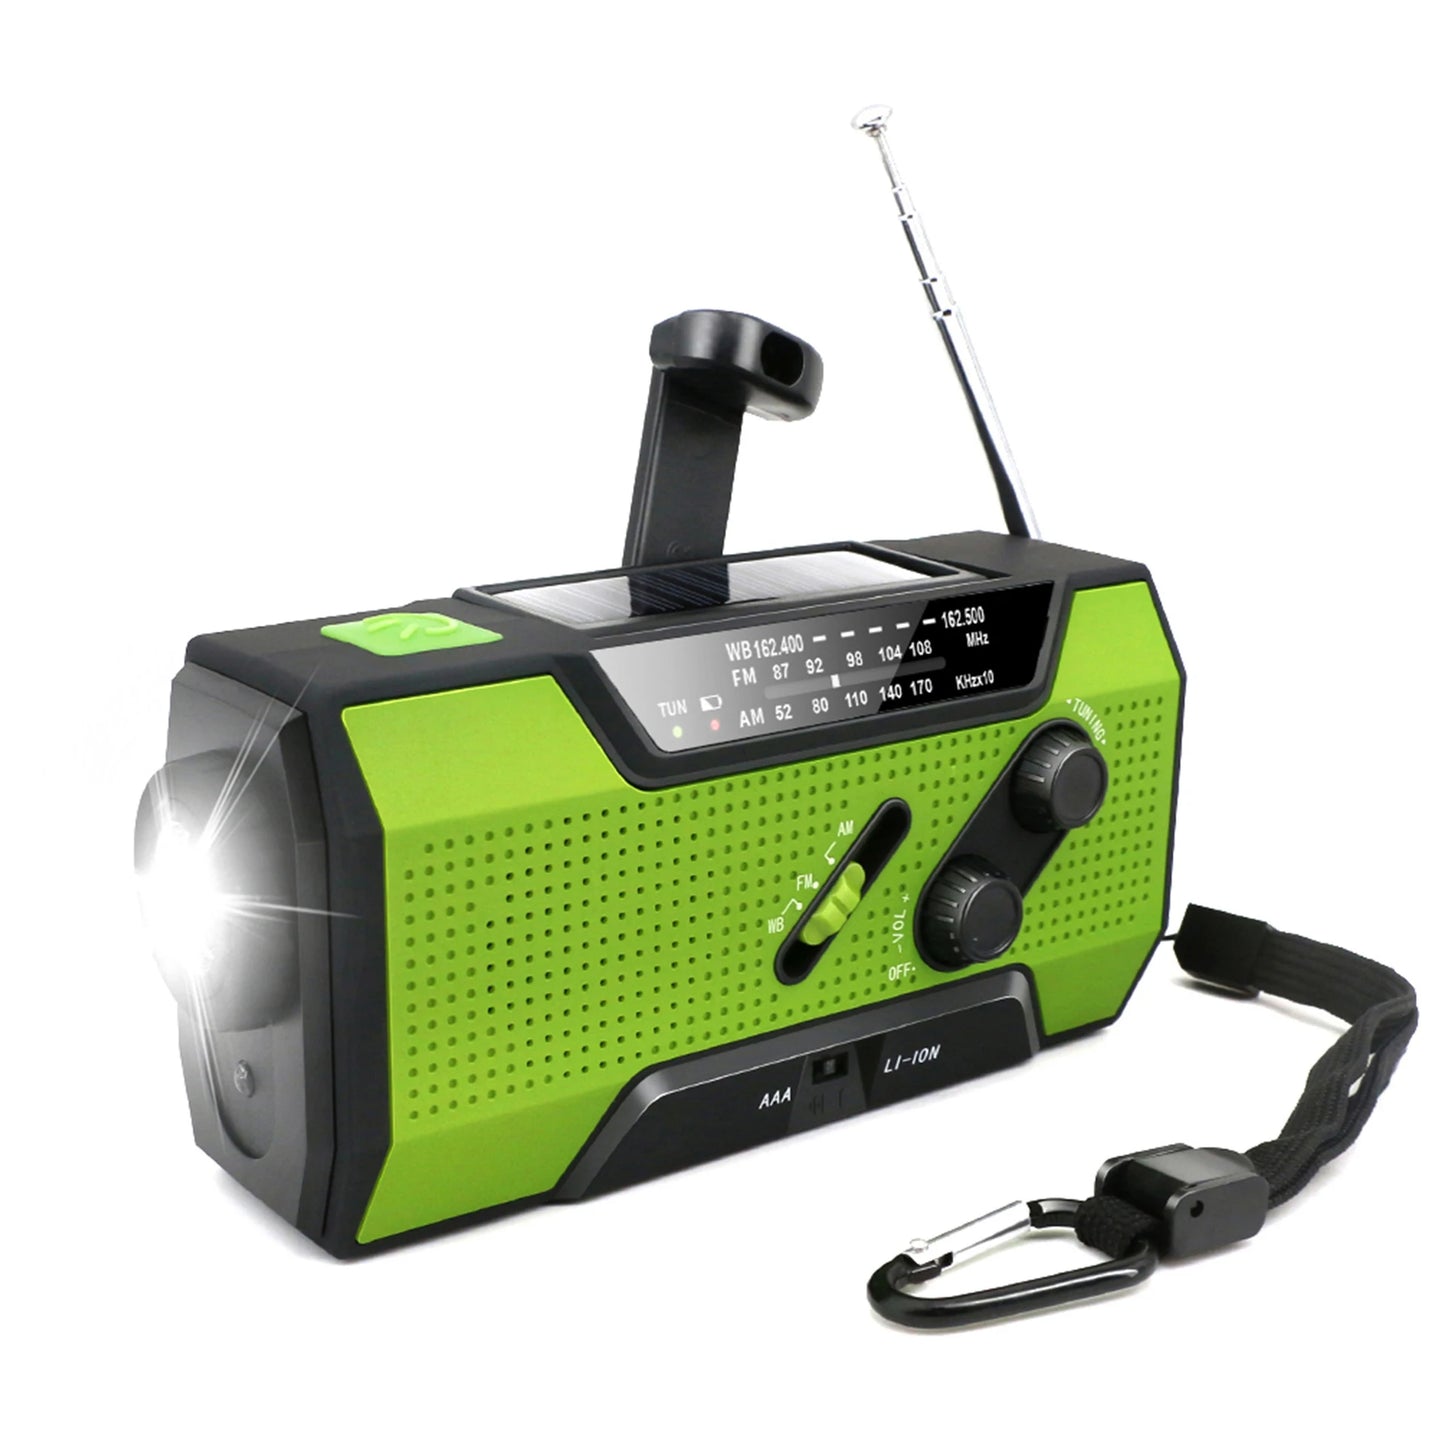
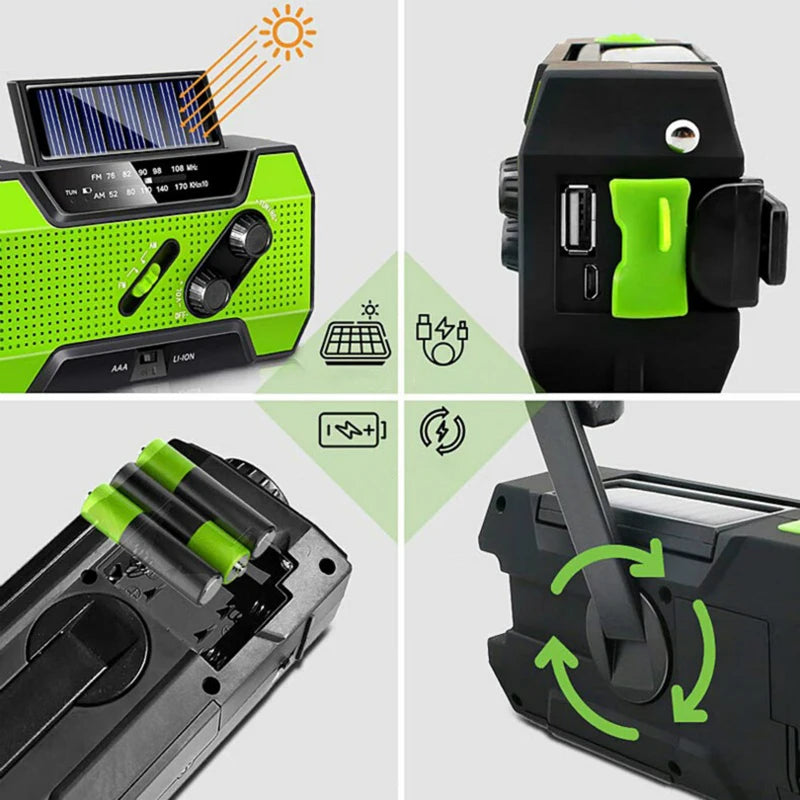
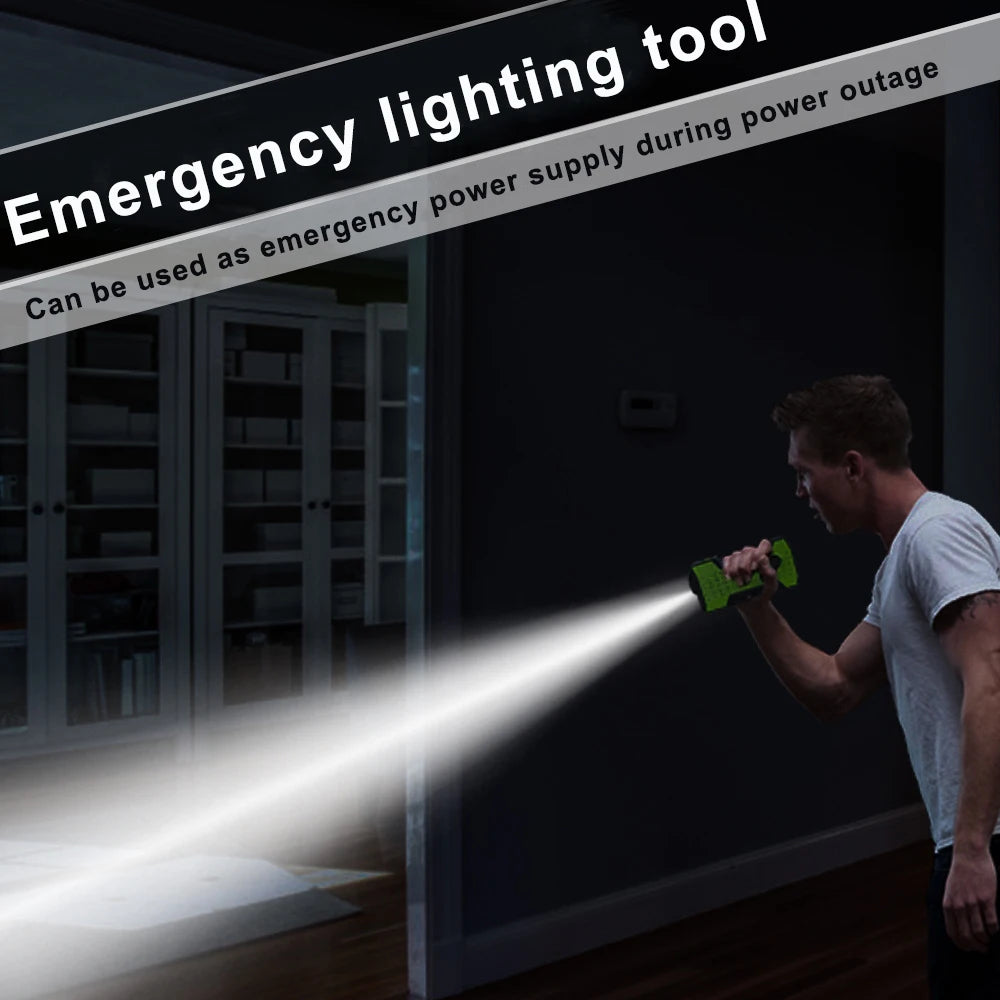
How to scan documents on iPhone

Mastering Document Scanning on Your iPhone

Scanning documents using your iPhone has never been easier, thanks to the built-in Notes app. In this guide, we’ll walk you through the steps to seamlessly scan documents and create digital copies right from your device.

Step 1: Open the Notes App

  1. Locate and open the Notes app on your iPhone.

Step 2: Create a New Note

  1. Tap the “+” button in the bottom-left corner to create a new note.

Step 3: Access the Document Scanner

  1. In the new note, tap the camera icon above the keyboard.
  2. From the menu that appears, select “Scan Documents.”

Step 4: Capture the Document

  1. Position your iPhone over the document, and it will automatically recognize and capture the edges.
  2. The camera will take the photo automatically, or you can tap the shutter button.

Step 5: Adjust and Add More Pages

  1. If needed, you can adjust the corners of the scanned document.
  2. To add more pages, tap “Keep Scan” and repeat the process.

Step 6: Save and Share

  1. Once you’re done scanning, tap “Save” in the bottom-right corner.
  2. You can now add a title, choose a folder, and tap “Save to” to store your scanned document.

Additional Tips:

  • Markup and Edit: After scanning, tap the scanned document to open it. Use the Markup tools to annotate or edit the document.
  • Share and Export: Share your scanned document by tapping the share icon or export it as a PDF.

Reference Links:

Now you have the power to digitize your documents on the go with just your iPhone and the Notes app. Simplify your paperwork and stay organized effortlessly!

2 comments

Leave a Reply